

Calculator View
This is is the principal view of the calculator, and is split into several subviews. The primary subviews of the calculator are the cartridge subview, keyboard view, display view, printer view, and the navigation bar at the bottom of the display.
Calculator Functionality
When launched, the calculator window is the principal window used; providing access to the actual calculator functionality. The [ ON ] and [ OFF ] buttons provide the ability to literally turn the calculator on and off. This cycle has an impact on the operation of the calculator. The calculator will automatically cycle OFF and ON when a cartridge is loaded into the calculator from the cartridge subview located immediately above the calculator display area. Newly loaded cartridges are only recognized by the calculator when the calculator turns ON.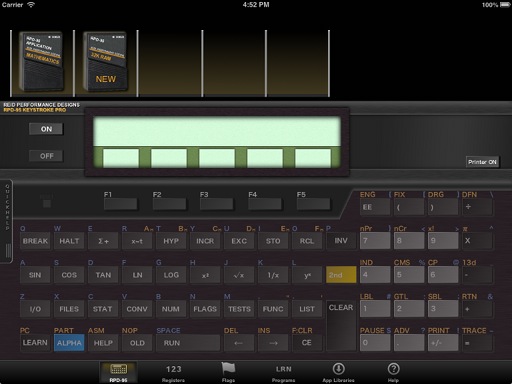
Calculator in OFF state.
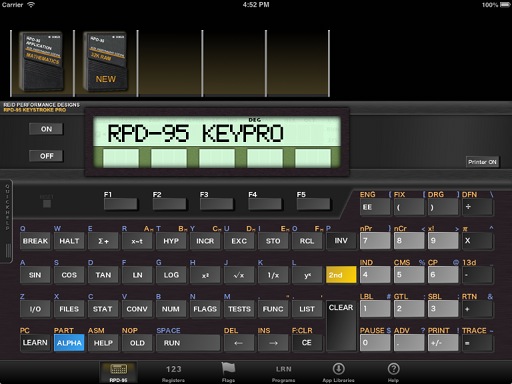
Calculator in ON state.
Printer Access
When the calculator is ON, it may be desirable to have a print listing of what the calculator is doing. By pressing the [ PRINTER ON ] button on the calculator, a simple 24-column print trace is enabled. The calculator treats this as if a real printer were attached to the printer. Application libraries make use of this to print results as well as user inputs, dependent upon the programming in the library. The calculator can [ LIST ] registers, programs, labels, and calculator status to this print listing. The listing can be saved to a text-format file for later syncing to your computer with the [ SAVE PRINT ] button, or cleared at the press of the [ CLEAR PRINT ] button. The printer can be turned off by pressing the [ PRINTER OFF ] button.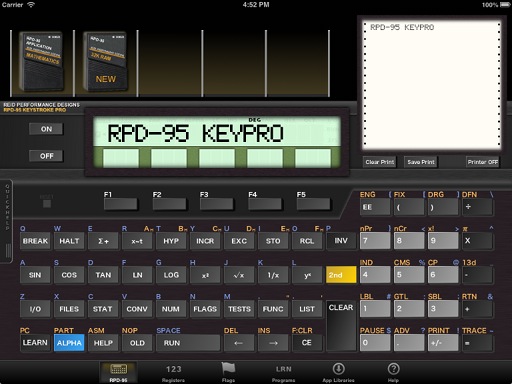
Printer View is enabled.
Reset State
Occassionally, the calculator may need to be reset. This is not normally the case, but if necessary, there is a "reset" button located below the ON and OFF buttons, to the left of the [ F1 ] button. This has the same effect as pressing the reset button on the real calculator, and resets specific states within the calculator. Programs and data will generally NOT be lost, but a currently running program is stopped, and any printing, or other operations will be stopped.

Calculator in RESET state, with message in display.
Cartridge SubView Operations
By swiping upwards over the cartridge subview above the calculator display, the cartridge operations action dialog is displayed. This dialog and its actions are covered in detail in the Cartridge Subview page.
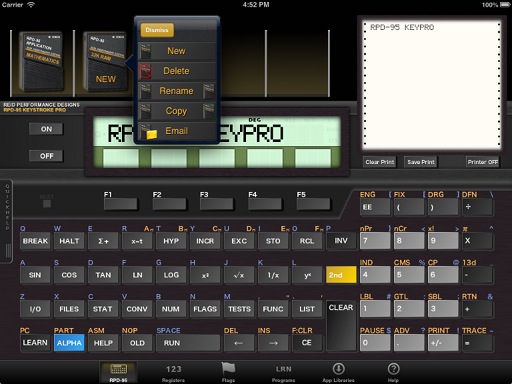
Cartridge Operations submenu.
Keyboard and Navigation Operations
The calculator keyboard is labeled with the functions of each key. Full description of the use of the keyboard is provided in the RPD-95 User Guide. The navigation bar operation and functions are provided in this guide. Touching each icon activates a new subview within the application.Use with an External Bluetooth Keyboard
There is limited functionality provided within the RPD-95 application to support external Bluetooth-enabled keyboards.The alpha keys on these keyboards should, in most cases, map to the keys of the RPD-95 calculator directly. For example, press the "A" key on the external keyboard would map to the "SIN" key on the RPD-95 keyboard. For most keys, pressing the alpha equivalent key will press the key on the RPD-95 keyboard.
For those keys that do not directly map, OPTION+key equivalents are programmed into the RPD-95 application.
The OPTION+Key equivalents supported, and their mapping are:
Key/Key Combo | FUNCTION |
|---|---|
| OPTION+1 | F1 |
| OPTION+2 | F2 |
| OPTION+3 | F3 |
| OPTION+4 | F4 |
| OPTION+5 | F5 |
| OPTION+A | ALPHA |
| OPTION+C | CLEAR |
| OPTION+F | CE |
| OPTION+H | HELP |
| OPTION+L | LEARN |
| OPTION+O | OLD |
| OPTION+SPACE | RUN |
| SPACE | RUN |
| ` character | --> arrow key |
| OPTION+plus key | +/- key |
| ENTER key | = key |
☚ Back